You can watch video tutorial or read this step by step text tutorial..
Step 1: Login to your cPanel Account
Step 2: Type "Softaculous" in searchbox or Scroll down and click on "Softaculous" Icon.
![]()
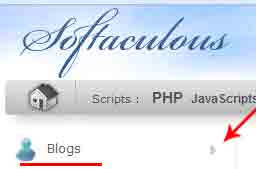
Step 3: In Softaculous, Expand "Blog" menu and then click on "WordPress"
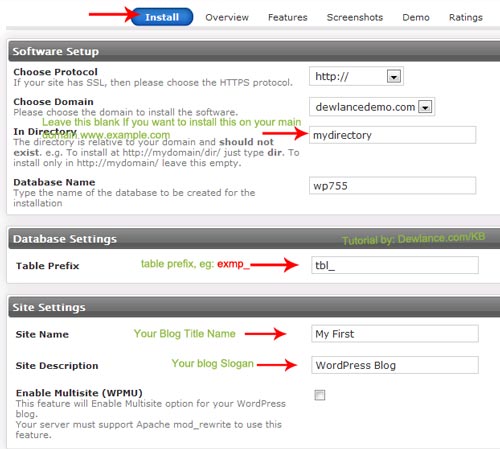
Step 4: Now Click on "Install" Tab
Step 5: Fill Installtion form:
Directory: If you want to Install wordpress on your Main Domain(Eg: example.com) then Leave this field as a blank field or If you want to install in a directory then enter directory name like "Blog" and softaculous will install your blog on your domain "example.com/blog"
Database Name: Leave this as it is.
Table Prefix: Leave this as it is or change to some other name like "wpzz_"
Site Name: Your Site Title Name (Eg: James Smith)
Site Description: Site Slogan (Eg: Personal Blog)
Enable Multisite: No, Leave this as it is
Admin Username: For security reason we recommended you to change default admin username to other username like "myadminaccount" or something else.
Admin Password: Click on "Key Icon" to generate a random password or enter your own password.
Admin Email: Enter your active or personal email address(Usefull for admin password reset, notification, etc)
(Note: Later you will need this Admin Username/Password to access your WordPress Admin Account)
Select Language: WordPress Default language is english, or chose your native language.
Email Installation Details: Leave this field blank(eg: Do not enter anything in this field)
Final Step: Finally Click on "Install" Button, wait for few second and Softaculous will show a Success message like "Installation Completed, with your full wordpress blog address and Admin Area URL.
Thanks for reading tutorial of Dewlance.com
One response
[…] is an open source software and more than 37 million website use it. For beginners its so easy to install wordpress using any auto-script installer software like Softaculous, Installatron, […]