By following this tutorial, You can easily install .NET Framework on your Cheap Windows VPS 2008 R2 Server or any other server.
.NET Framework is an important software and required by various software. Infact you can't install software which required .NET Framework. In this tutorial we will explain it in very well manner with step by step and images which will be useful for you to understand how to install it. Do you know that you can learn most part of Windows Server by just reading our tutorials and you will be able to manage a Windows VPS Server.
You can install it by just few steps.
Installing .NET Framework
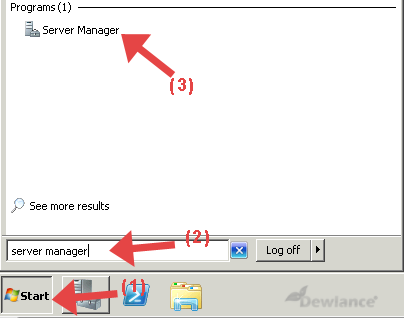
Step 1: Open your Windows VPS in RDP or VNC and go to Start Menu, Type "Server Manager" (without quota) and then click on "Server Manager".
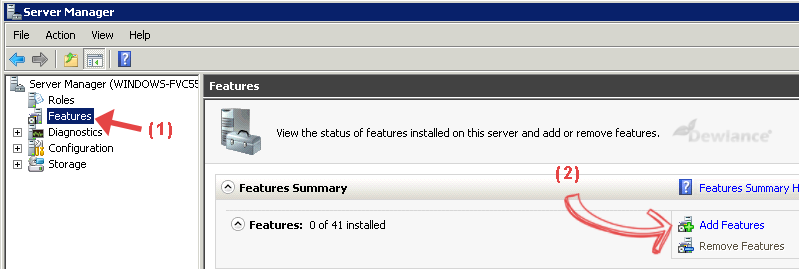
Step 2: Server manager window will open, In Server Manager, You will need to click on "Features". In Right side you can find "Add Features", Click on it.
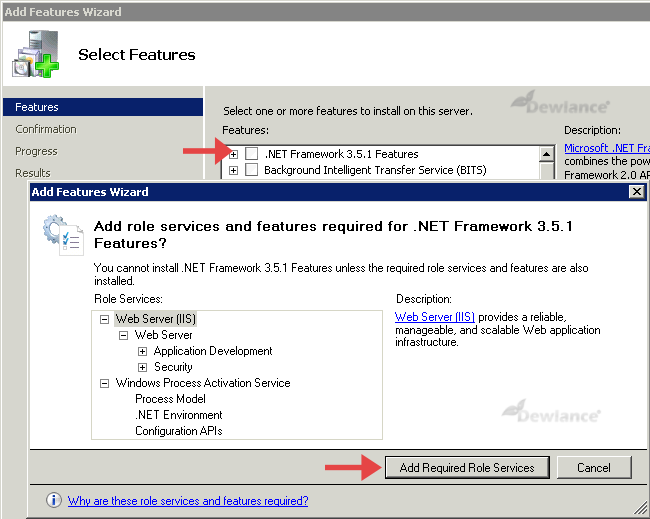
Step 3: In "Add Features Wizard", Select ".NET Framework 3.5.1 Features" (Note: If Framework 4 is available then select it) and new window will open. Click on "Add Required Role Services".
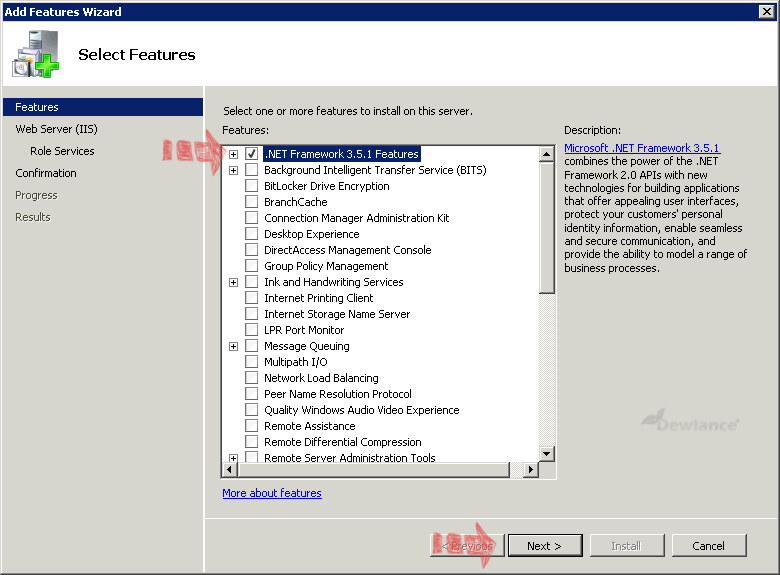
Step 4: Now click on "Next" button and then again click on "Next" button.
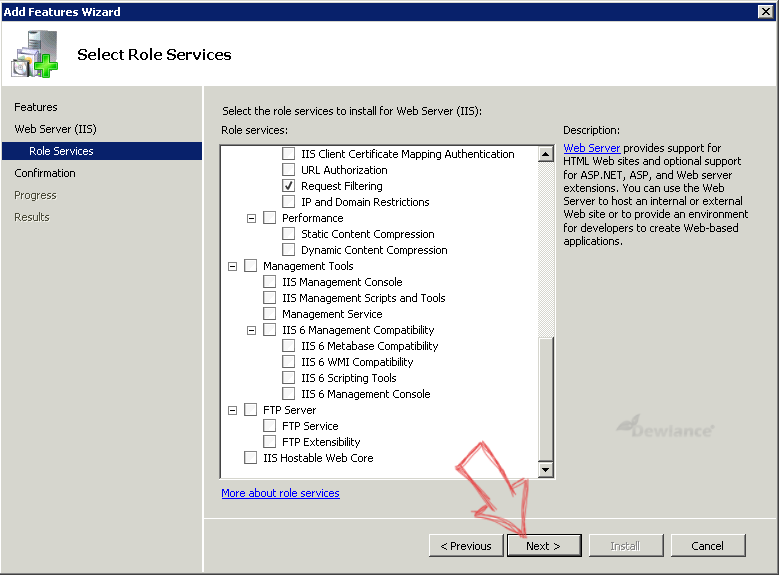
Step 5: Under "Role Services", Don't need to select anything and again simply click on "Next" button.
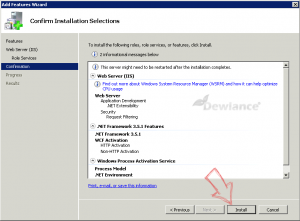
Final Step: Click on "Install" button. Installation will be begin and it can take some time. Wait for few minute unless Dot NET Framework is successfully installed.
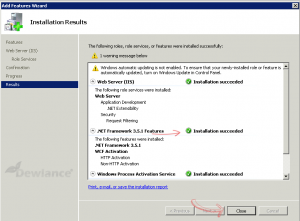
If Installation will be successfully then it will show a success message otherwise it will show an error. In below screenshot you can see .NET Framework in successfully installed on a Windows VPS.
No responses yet