VestaCP is one of the most popular control panels for VPS. This control panel is highly recommended for anyone who is in the process of learning to understand server settings. It’s also recommended for the inexperienced beginner to manage the shell because it makes it easier for them to do web hosting management (via panel).
One of the striking advantages of this control panel is its light weight enough to allow it to be installed on a low-specification VPS. With easy control, you can perform sysadmin tasks more easily than when you do Database Creation to Website and/or Email management in one place. Its innovative GUI is what makes this possible.
But how to install VestaCP? If you’re not familiar with installing a control panel, don’t worry because you’re on the right page. This article will show you some steps in installing VestaCP. This guide is easy enough for anyone to understand.
The prerequisites:
For Ubuntu 16.04: # apt-get update && apt-get upgrade && apt-get dist-upgrade
For CentOS7: # yum update && yum upgrade
Let’s to the point, here’re the installation steps:
First step:
Before starting anything, you need to download the VestaCP Installation Scripts. Just click on https://vestacp.com/pub/vst-install.sh.
Second step:
In this step we use bash scripts.
To run Default Installation: # bash vst-install.sh
To run Custom Installation, you must have a script that can be retrieved from https://vestacp.com/.
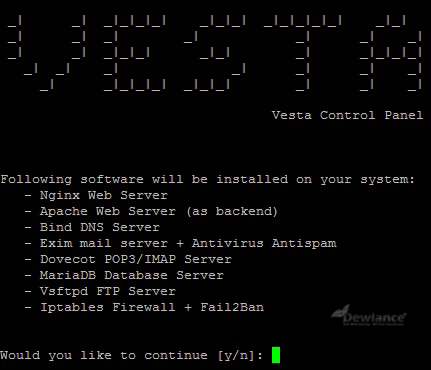
Third step:
Continue with the installation step. You need to type ‘Yes’. The picture below is the illustrative:
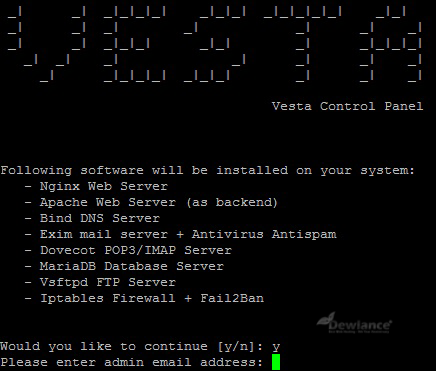
Fourth step:
You need to enter your email address to proceed to the next step.
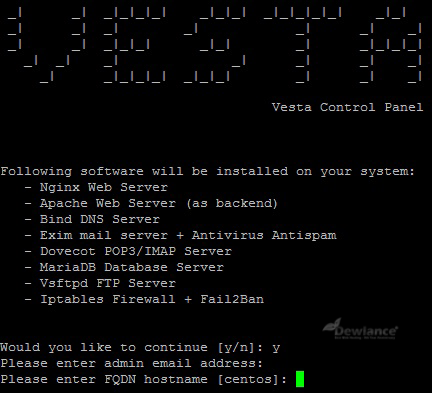
Fifth step:
Enter your hostname
Sixth step:
If you see the image below then you have successfully installed the VestaCP.
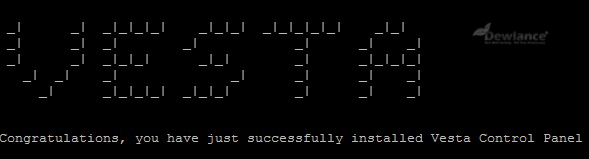
Now try opening this URL in your browser: https: // FQDN-or-IP-address: 8083
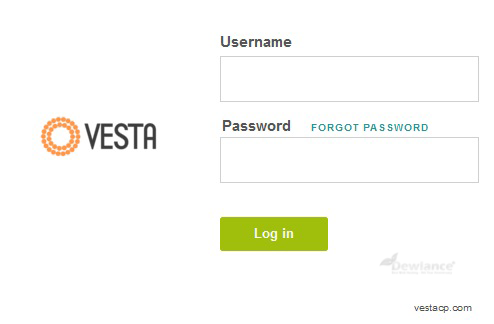
Seventh step:
Access the VestaCP by typing credentials
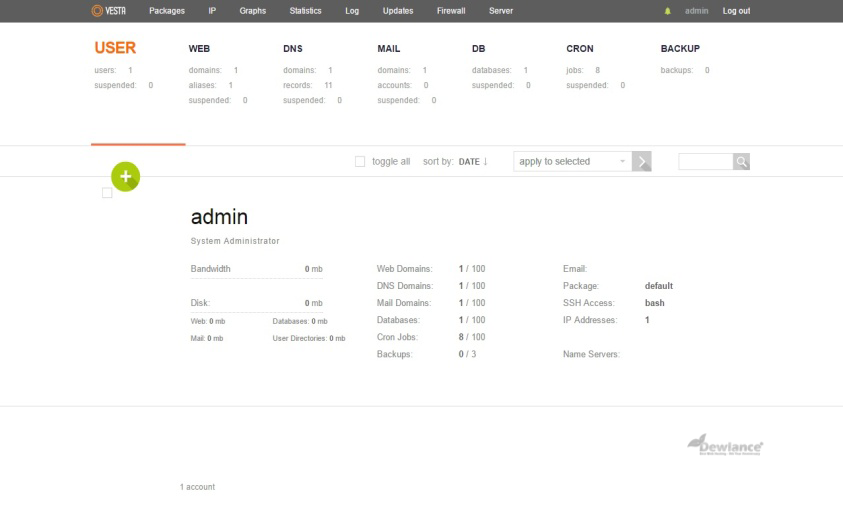
Eighth step:
Once the credentials are typed you will see the VestaCP dashboard as below:
After you successfully perform the above steps, you will have successfully installed VestaCP into your Linux distribution. Hope this article can help you.
No responses yet