You will learn how to quickly install & configure Facebook Instant Article on your wordpress blog. Facebook allow you to boost your website traffic using their platform and there is many apps provided by facebook to boost your site traffic and social media presence.

In this tutorial, I will not waste your time by providing details that what is pros or cons but I will provide minimum details which is must required for you to read else it can create an issue for you.
What is Facebook Instant Article?
Facebook instant articles is a wordpress plugin which allow your wp blog to load your website content by 10 to 15 times by using custom mobile format and this technology is same as facebook uses on their mobile application.
If you are a wordpress blog user then you are in advantage to use wordpress facebook instant article plugin and your website will adapt a way to be displayed on facebook in Instant Article Format.
Many popular website use this feature to attract more features and look better on FB, Here is a screenshot where you can see how Instant Articles look like on mobile phone.
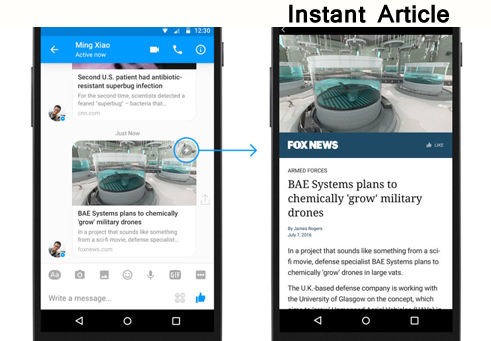

Plugin is really good and perfectly fit images, video on mobile and it look much better and I think this is the reason why most of popular site like Buzzfeed, etc use them. If you will use this then of-course your content will look much better on mobile and without instant article plugin you will need to manually customize your image else it will look bad.

What is requirement of Facebook Instant Article?
Facebook instant article have a some minimum requirement which must be required to work on your wordpress blog and here is list of requirement.
- You will need a facebook page for your website, Its easy to create facebook page.
- Facebook Page App is required.
- Your website must need at lest 10 articles.
- Instant Article wordpress plugin will be needed to installed on your WP blog.
This are requirement and If you qualify this then you can use FB Instant Article feature on your blog. I will explain everything on how to setup, configure, etc so don’t worry.
1. Create account on Facebook Instant Article
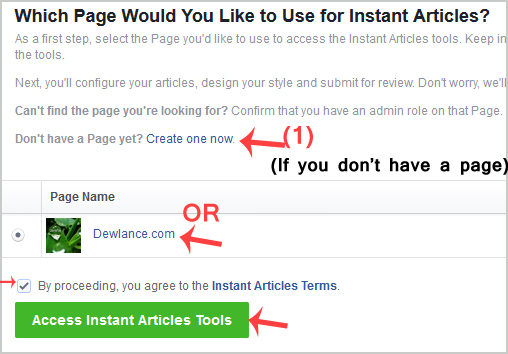
Open Facebook Instant Article in your browser and then click on “Signup” button and If you already have a facebook account then sign-in to your account. Facebook will show you an option to create new page and If you already have a FB page then select your page from page list, Accept term and then click on “Access Instant Article Tool“.

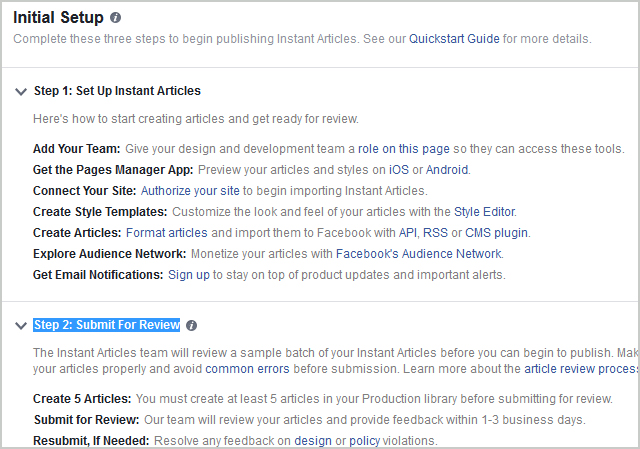
Once you signup for Instant Article you will redirected to “Publishing Tools” and you will need to configure it.
Now you will see a lots of option, In “step 1” of facebook instant article setup you can add your team by clicking on “role on this page” but ignore Step 1 and Step 2 because of we don’t need to use this option.
Here is screenshot:

Leave this as it is and scroll down to “Tools” option and click on “Connect Your Site” to expand option.
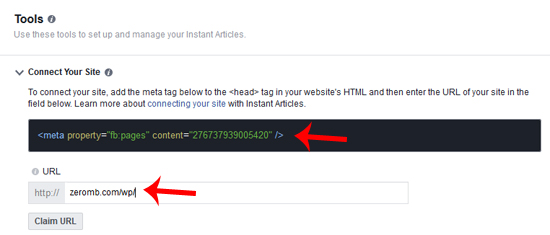

Copy meta code and paste it in your header.php file of your active theme. For example If your wordpress theme is “twentysixteen” then you can find your header.php in /wp-content/themes/twentysixteen/header.php
You can also do this from your WordPress Dashboard >> Appearance >> Editor >> header.php and paste your code then click on “Update File“.
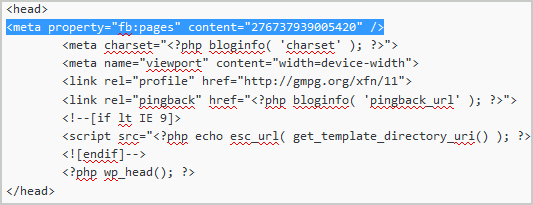

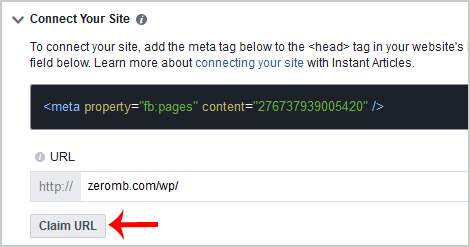
Once you paste meta code inside <head> code of your header file then type your WP blog website address in URL field and then click on “Claim URL“.

Once done and you verified to facebook that it is your site then you will need to setup RSS Feed but before setting-up RSS feed first we will need to install a plugin which and without this plugin it will not work.
Install Facebook Instant Article Plugin on your wordpress blog, You can read our tutorial “How to Install plugin on wordpress by 3 different ways“.
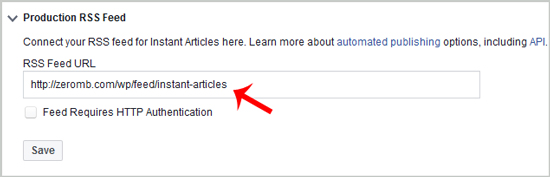
Once plugin is installed then you will only need to enter this code in facebook “RSS Feed URL and click on “Save“.
http://example.com/feed/instant-articles
(Replace example.com with your domain name)

Now you already claim your website URL, Setup RSS feed but there is some other few steeps are still required so next thing will be:
Setup Instant Article Plugin for your WP Blog
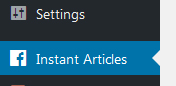
After you activated your plugin in your WP blog, You will able to see a option “Instant Articles” so click on it.

On Instant Article page of wordpress, You will see a option “Get Started” so click on it and now before doing anything, First we will need to Create a FB App ID and App Secret code.
- Go to Create your Facebook APP
- Under “My App” menu on top right side bar, Click on “Add a New App“.
- Enter Display name, Contact Email address, Chose category then click on “Create App ID“.
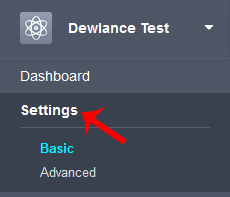
Now you will need to enter your wordpress website address so click on “Settings” which can be found in Left side.

In Settings field, Under “Basic” option you will need to enter your display name, Under App domain name enter your wordpress blog address like “http://example-your-wp-site-address.com”, Add App icon, etc and then click on “Save Changes“.
Setup Website:
Scroll down page and then click on “Add Platform“.
![]()

Click on “Website” option, Then enter your wordpress address in “Site URL” and then click on “Save Changes“.
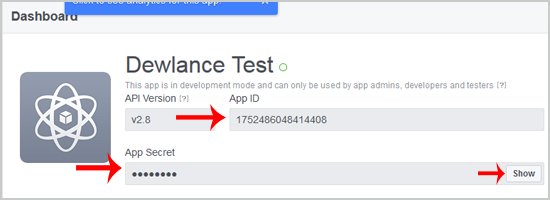
Now you can grab your App ID, Secret code from same page or click on “Dashboard” and copy your App ID.

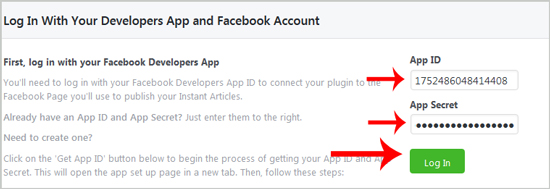
Come back to your WordPress Dashboard, Enter your App ID, Secret code in “Instant Articles” plugin setting area and then click on “Login“.

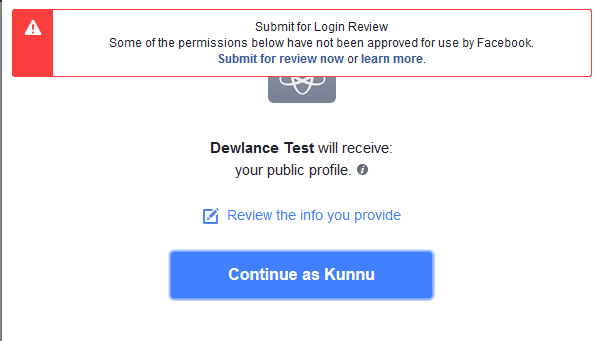
Once logged-in then it will show a option to login to your facebook account, Click on “Login with Facebook“.
Now you will need to give permission to your App, Once you will grant a permission then you will redirected to your wordpress instant article settings page.

Ok, On your WP Instant article page you will see a option to chose your page. If you have a multiple page then it will show multiple pages and allow you to chose any one page. Select your wordpress blog page and then click on “Select” button.
Customization of your Instant Article
You will see a option that you have selected a page and then allow you to customize your page so click on “Customize” and you can make changes as you wish like Changing logo, Background color, Title, Subtitle and many more option.
This option is really useful for branding your Instant Article, Customize it properly so it can look better and match with your website design, background color however If you wish then you can leave this as it is because of this is not necessary to customize but its depend on you.
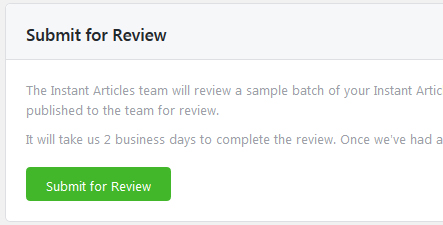
Submit your Instant Article for Review
Ok, Finally we completed our all steps like claiming URL, Installing Plugin, Adding feed, Creating App ID, Secret code, Signup, Granting permission, etc but this is final step and then your website will be ready for Facebook Instant Article.
In this step, You will need to submit your Instant article for review and facebook can take 3 to 5 days to approve your request but If your website will violate their policy, etc then it will show you an error and you can correct it.
Minimum required must be need to complete to submit your site feed for review, If you don’t have a 10 required articles then first post 10 articles then add your site for review.
Now If you already have a 10 post then refresh your wordpress Instant Article settings page or go to WP Dashboard >> Instant Articles >> Settings and it will show you a option “Submit for review“.

Pros and Cons of Instant Article:
Facebook Instant articles is really useful feature for website to improve their presence on Facebook social media site but there is a drawbacks and advantage of this feature so you can compare it and decide about this to use it on your site or not.
Pros:
- 10x Fast load time
- Increase reach of your facebook page.
- Improve presence of your website on FB.
- Chance of sharing your content on facebook will be increased.
Cons:
- Many features of your site will not show on FB Instant Article like email subscribe, form, Shortcode, etc.
- Limited number of media files like video, images will be show.
- Revenue can be decreased.
Conclusion:
I think we have given you a good idea about what is Facebook Instant Article, How its work, Pros and cons of this feature and it can be used on various type of website and you can gain advantages of Facebook Instant Article.